How We Build Our Modular UV Curing Lamps
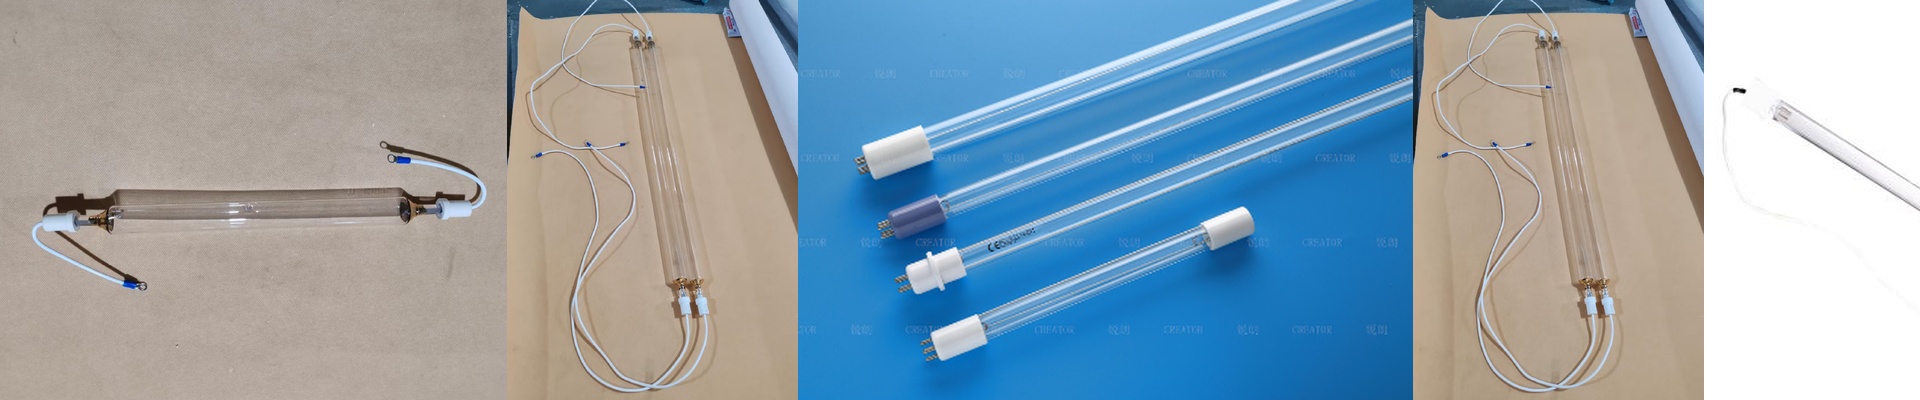
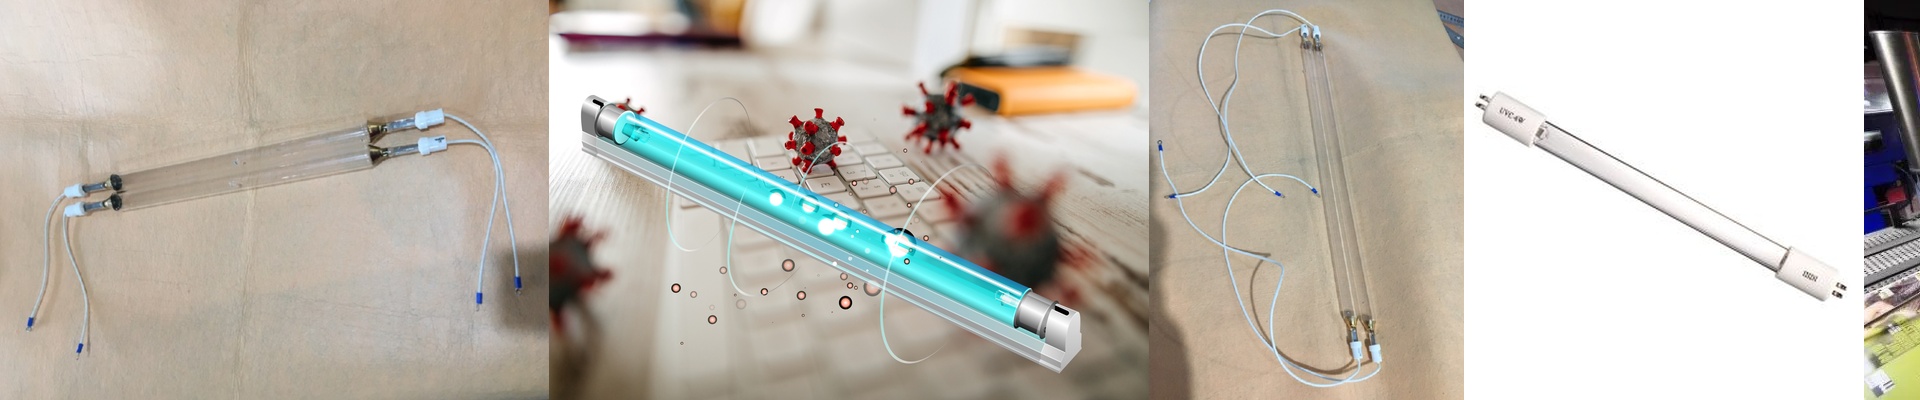
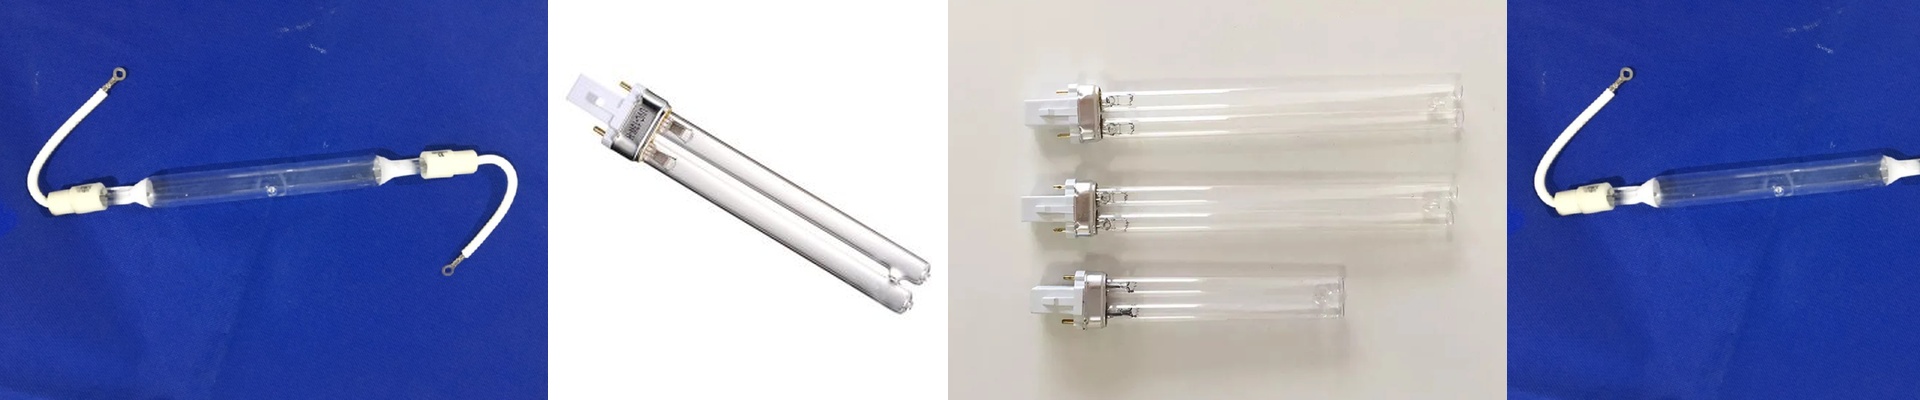
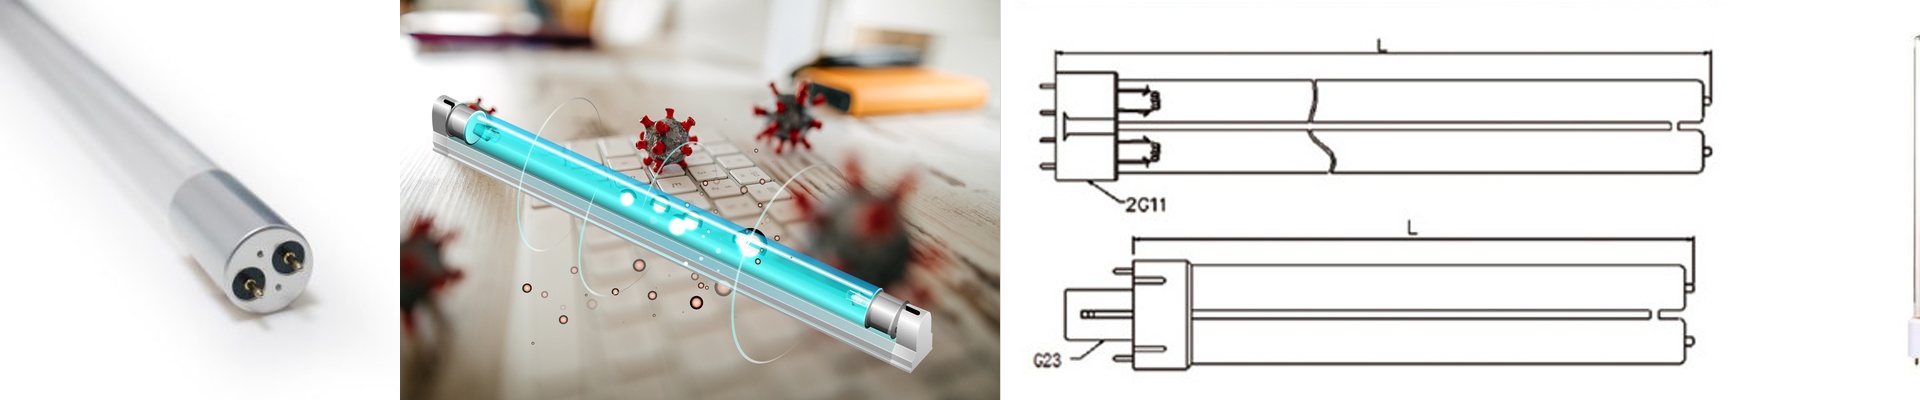
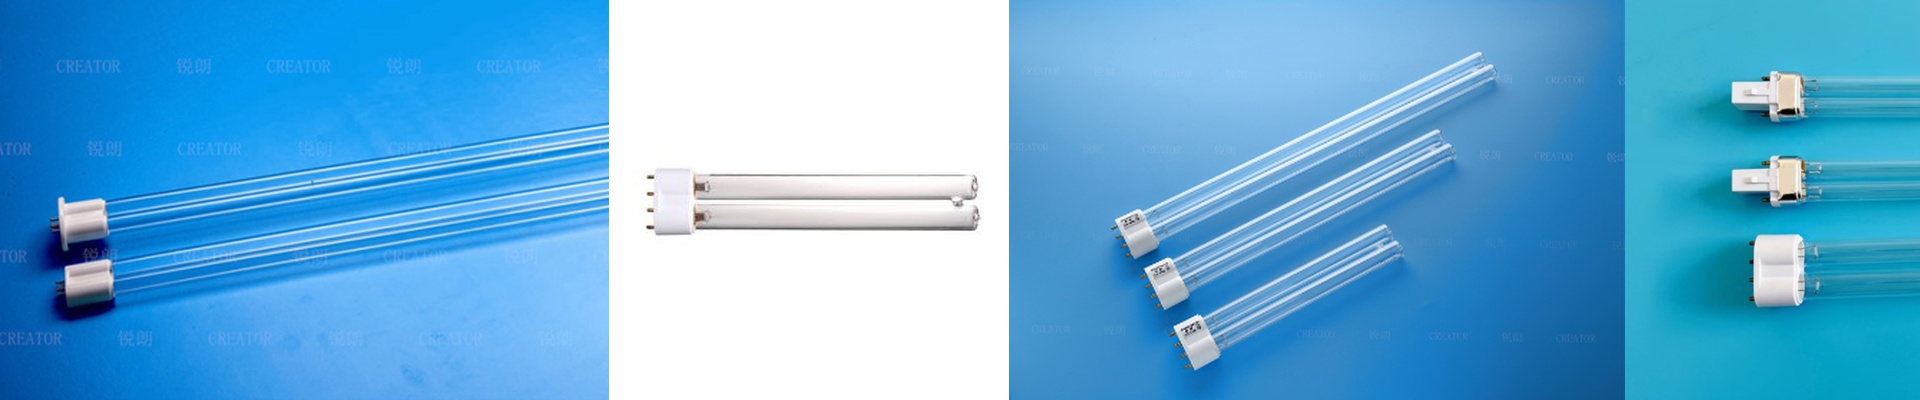
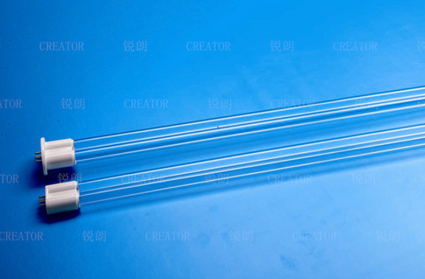
UV curing is basically all about hitting your inks and coatings with just the right amount of energy to make them snap-dry instantly. If you don’t get that timing right, you’re looking at smudges and bleeds—which is the last thing you want when you’re running a high-speed line. Scaling your power We went with a modular setup for a reason: flexibility. If you decide to crank up your conveyor speed, you don’t need a whole new system. You just pop in more lamp modules to keep that energy dose where it needs to be. But here’s the catch—more power means more heat. If you don’t get your cooling fans or water-jackets dialed in, you’ll start seeing the substrate warp or the ink bubble up. It’s a balancing act. The guts of the machine Inside, we use either mercury-vapor or LED tubes, depending on the specific wavelength you’re after. We tuck these into reflective aluminum chambers to push every bit of light downward. We hate waste. And since these things live on a vibrating printing press, we didn’t use flimsy parts. We used heavy-duty wiring and connectors that actually stay put. No loose wires, no random shutdowns. Getting it onto your floor We designed these to be drop-in replacements. We kept the footprint small so they actually fit into your existing frames without a fight. Plus, you can hook them up to one central controller and tweak the intensity on the fly. One thing to keep in mind: high-intensity UV is tough on reflectors. Over time, dust and ozone will just eat away at your efficiency. You’ve got to stay on top of the cleaning. If you let it slide, you’ll end up with “cold spots,” and that’s how you get tacky surfaces on your finished prints. Not a great look.