Getting UV Curing Right on Your Printing Line
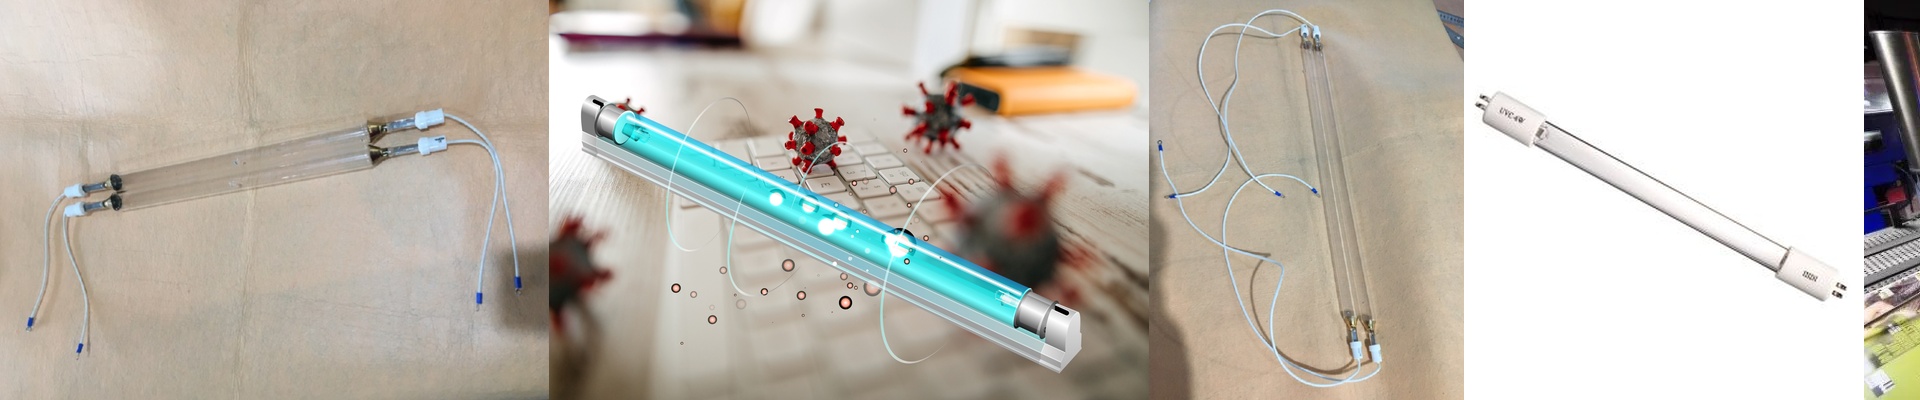
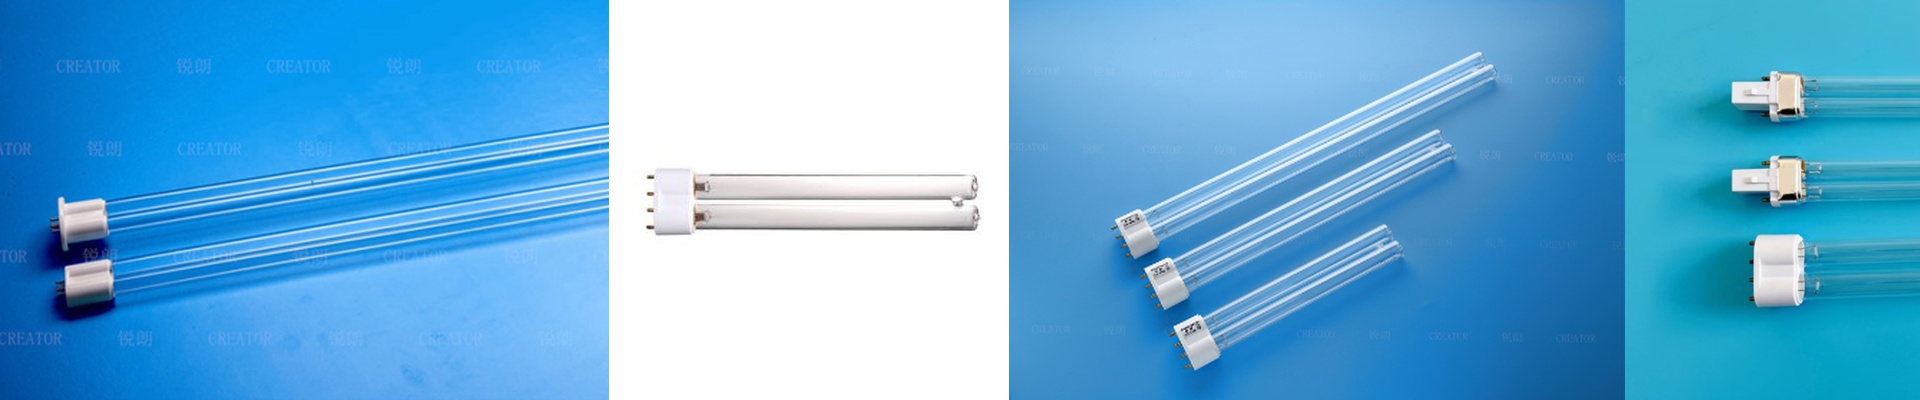
When you’re running a high-speed automated line, you need your ink to go from a liquid to a solid in a heartbeat. That’s where UV curing lamps come in. They aren’t just “lights”—they’re the engine that triggers the chemistry to lock everything in place in a matter of milliseconds. The real trick is making sure the right amount of energy hits your product while it’s flying past at a constant speed.
Finding the Sweet Spot with Power and Wavelength
If you want to keep the line moving fast, you need intensity. But it’s a balancing act. We match the lamp’s output to the specific photo-initiator in your ink. Why? Because if the wattage is too low, you’ll end up with a “tacky” surface that feels sticky to the touch. On the flip side, crank it too high and you might scorch your material or see it start to shrink. It’s all about the dose. We tweak the power against the conveyor speed so every single inch of the web gets the exact same treatment.
Fitting it in and Keeping it Cool
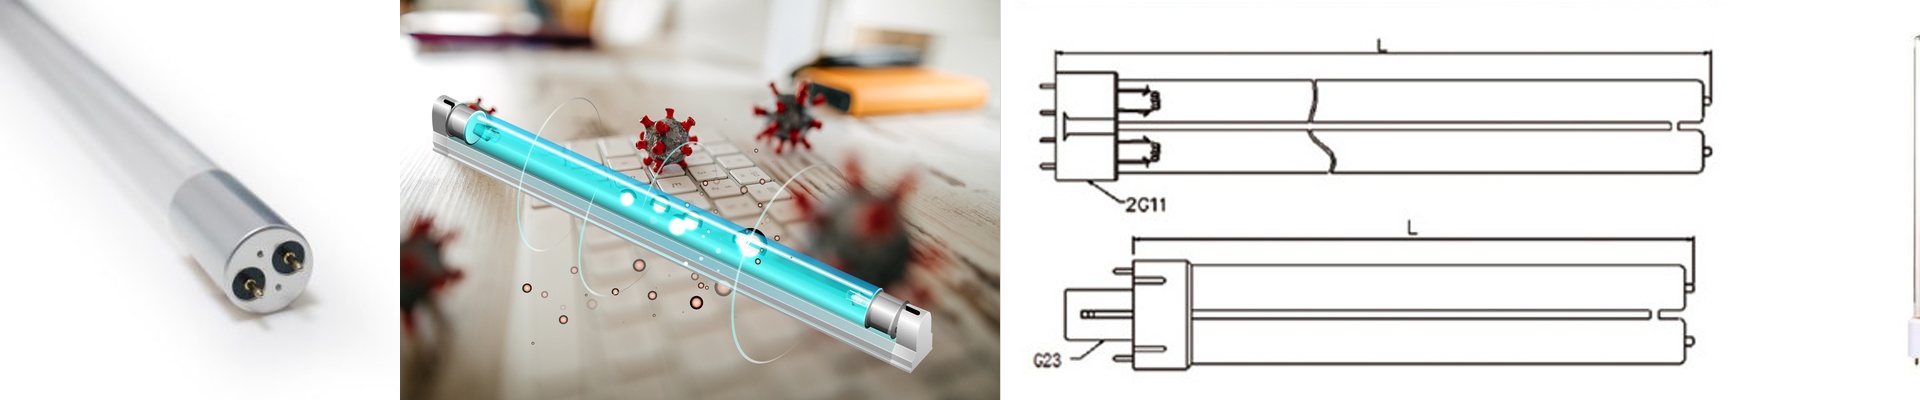
Getting these lamps into your chassis requires some precision. We use standardized mounts because the gap between the lamp and the product is everything. Seriously. If that distance shifts by just 5mm, your curing efficiency can tank. Then there’s the heat. These lamps gethot. You can’t just throw them in a sealed box and hope for the best. You’ll need forced-air cooling or water-cooled jackets. If you don’t handle that thermal load, you’re looking at a blown quartz envelope and a dead lamp.
Dealing with Wear and Tear
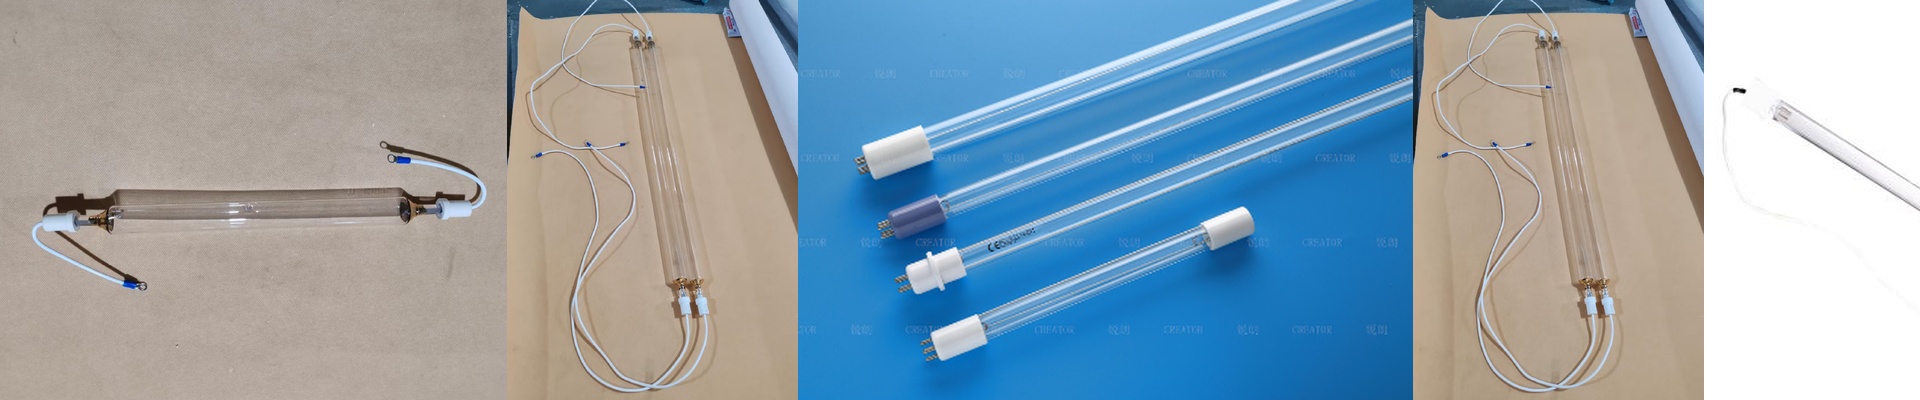
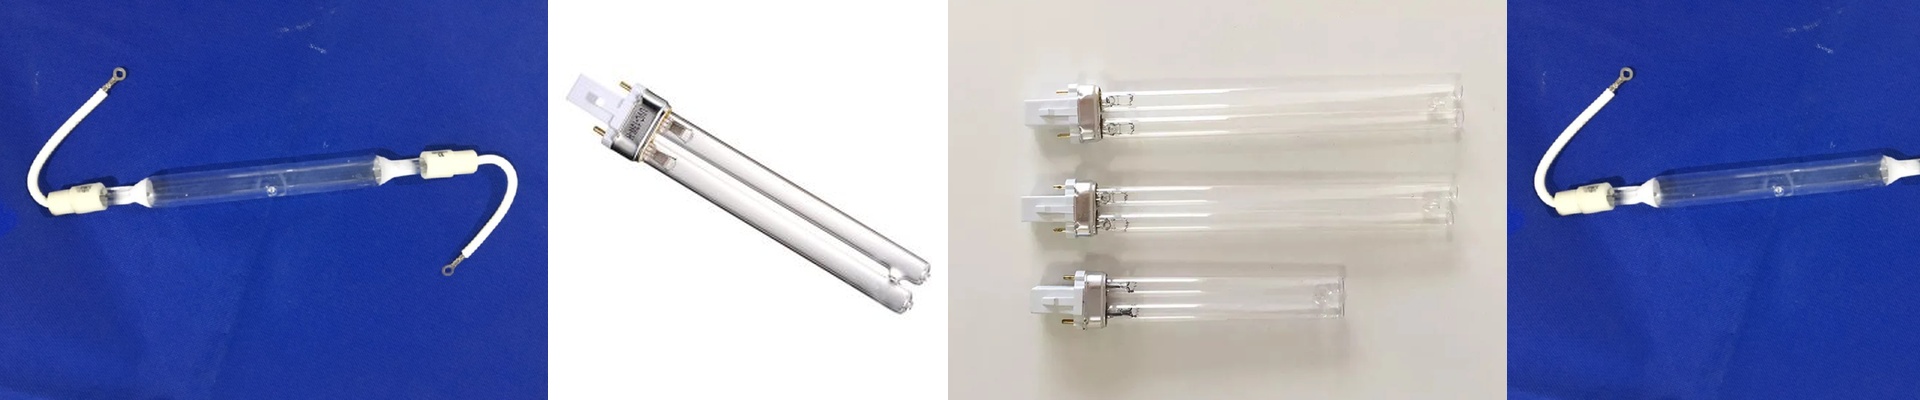
Here’s the thing: these lamps are consumables. They don’t stay at 100% forever; they fade over time. To keep you from staring at a stalled production line, we design our housings for quick swaps. You can just drop in a new tube and get back to work without having to spend hours recalibrating the whole system. My best advice? Keep a close eye on your operating hours. Swap the tubes before they dip below your curing threshold. It’s much cheaper than dealing with a batch of ruined prints.