Getting Your UV Curing Right for Textiles
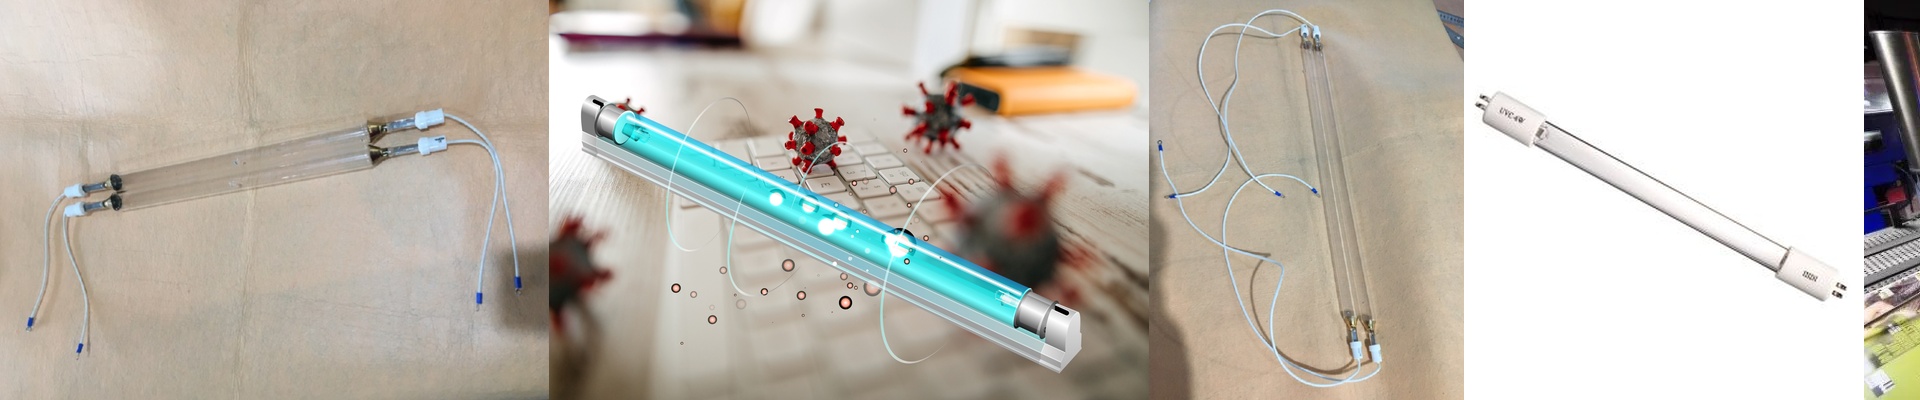
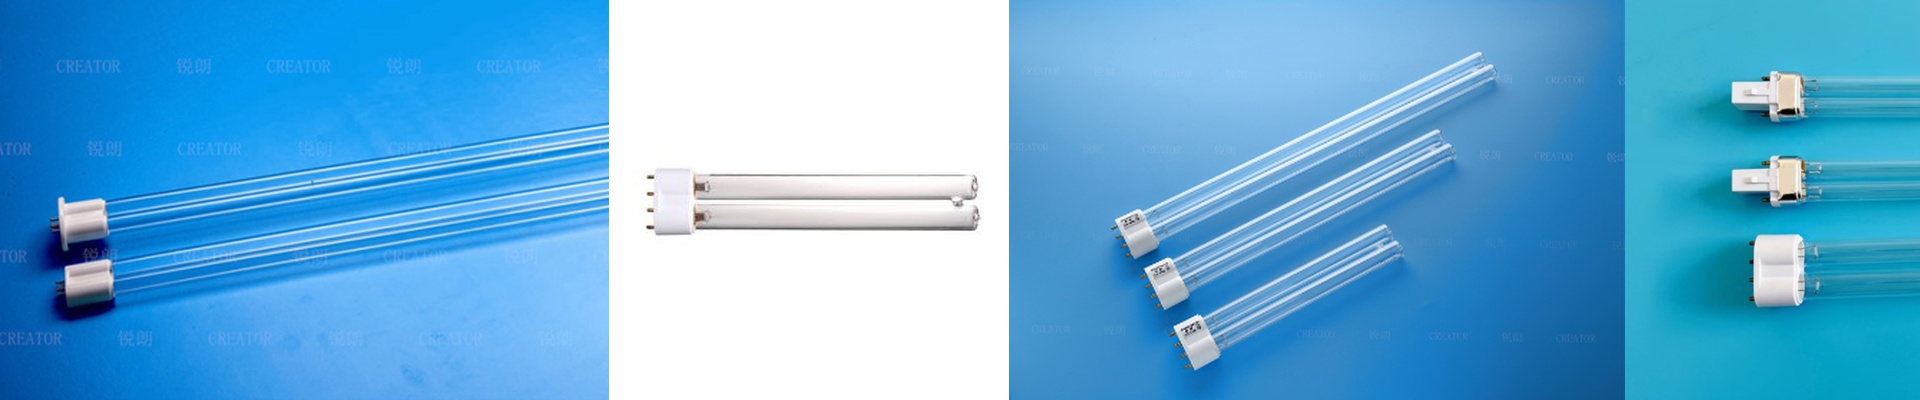
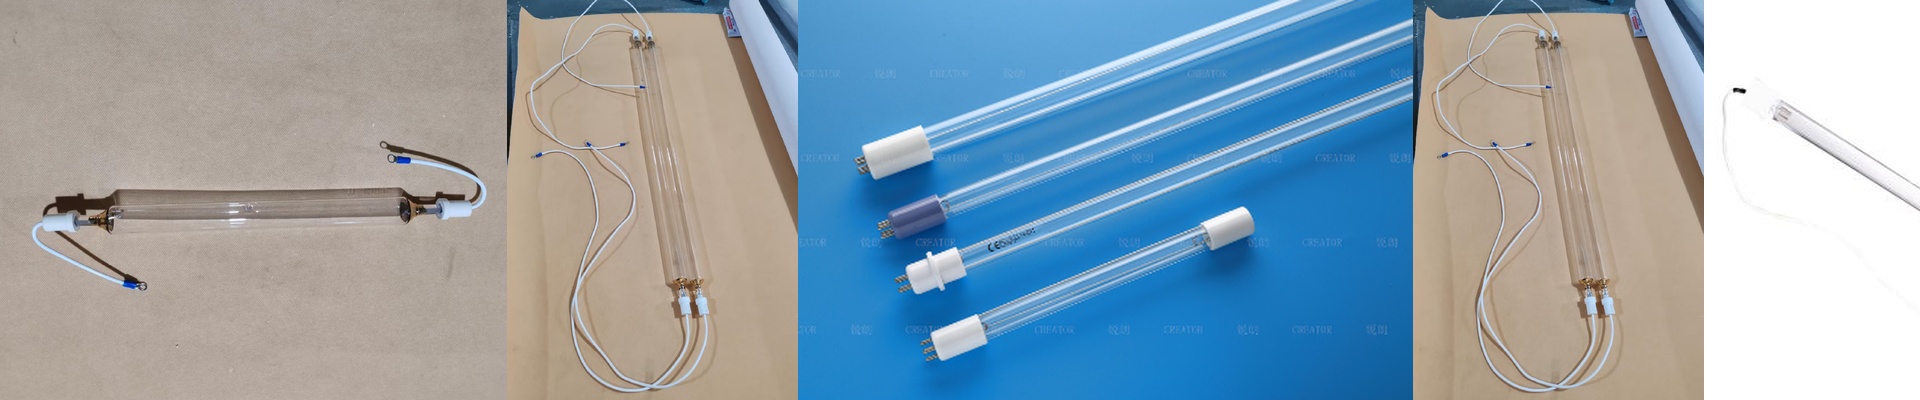
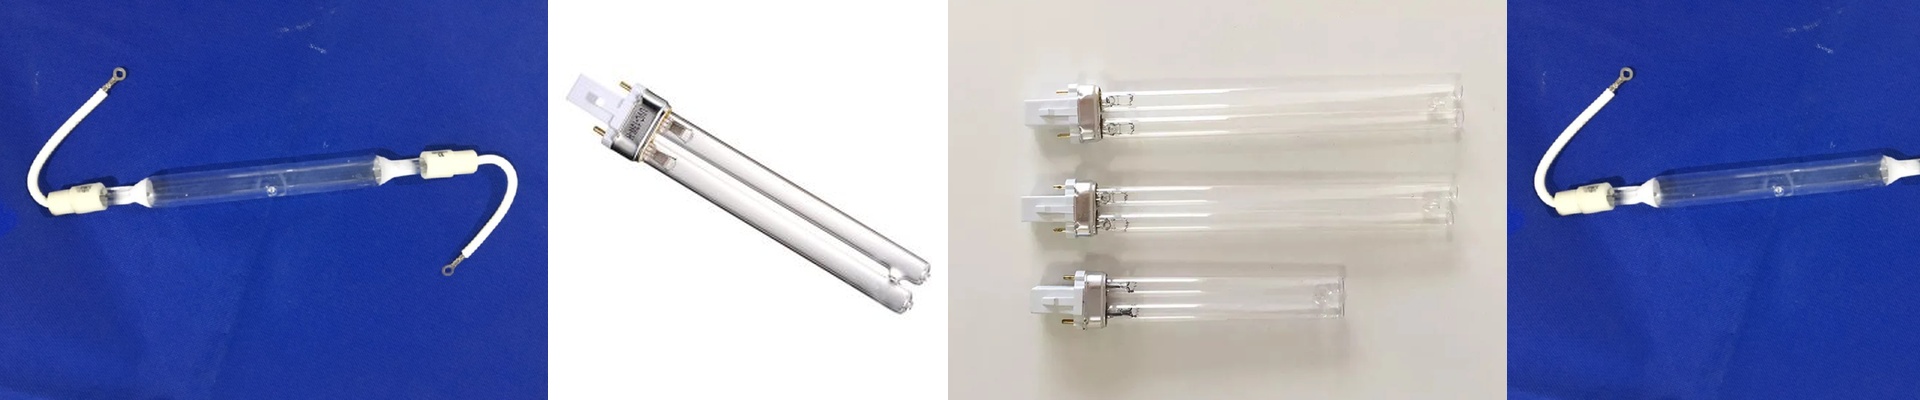
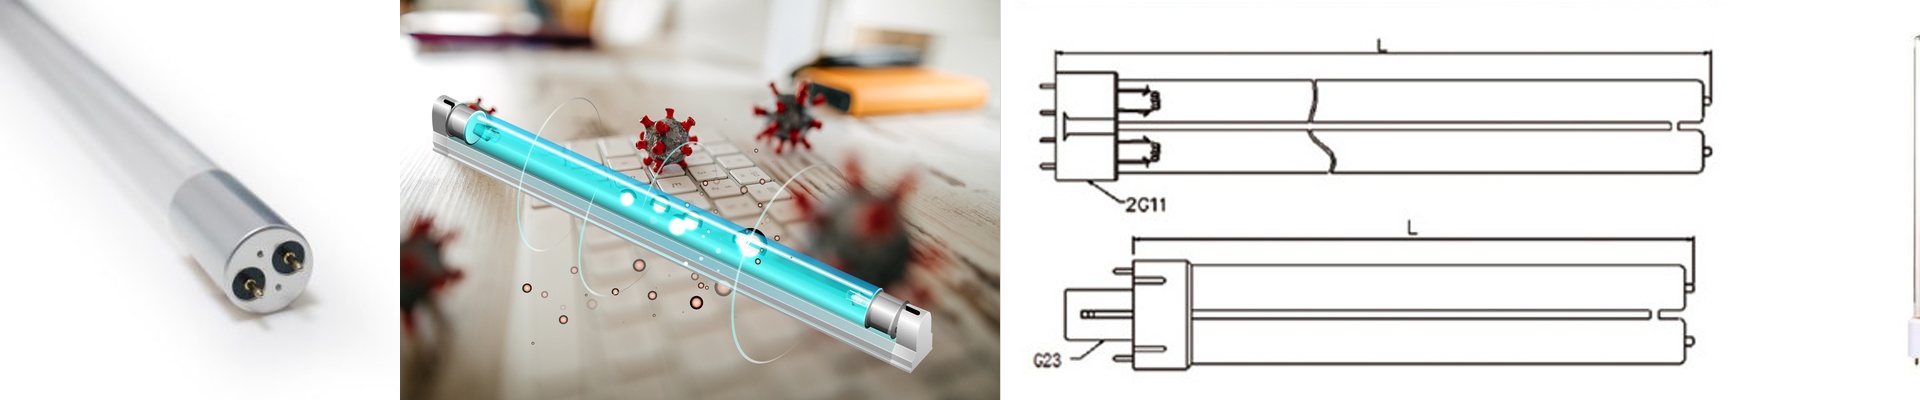
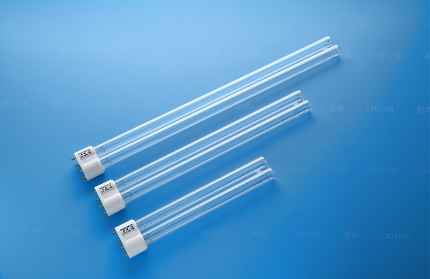
Here is the problem with off-the-shelf UV lamps: they aren’t built for fabric. Textiles are tricky. Between the weird surface textures and the specific chemistry of the inks, a generic lamp usually just doesn’t cut it. That’s why we build custom lamps. We want that ink to snap into place instantly, without accidentally scorching your material. Getting the power just right The whole goal is to lock that ink deep into the fibers. To do that, we look at how fast your conveyor belt is moving and match the wattage and tube length to that speed. If you speed up the belt, we crank up the power density. Simple. We also use a higher voltage setup so we can run longer tubes without the power dipping at the ends. No one wants “dead zones” where the edges of the fabric stay wet while the middle is cured. Heat and glass We use fused quartz because it’s clear enough to let the right UV rays through, but tough enough to handle being turned on and off constantly without cracking. For the really high-output stuff, we usually tweak the reflector shape to push all that energy straight down. But a word of caution: check your exhaust fans. If the heat builds up in the housing, you’ll start seeing bubbles in the ink or, worse, warped fabric. Not a great look. Keeping it running We use industrial-grade connectors because arcing at the pins is a nightmare you don’t want. Most of our lamps just slide right into your existing frames. One thing to keep in mind: these lamps fade over time. It’s a slow, linear drop. The best way to handle this is to track your hours. Swap the tubes out before the output hits a critical low. It beats the hell out of discovering a batch of “tacky” prints halfway through a high-end order.